Playing with the oak windfall

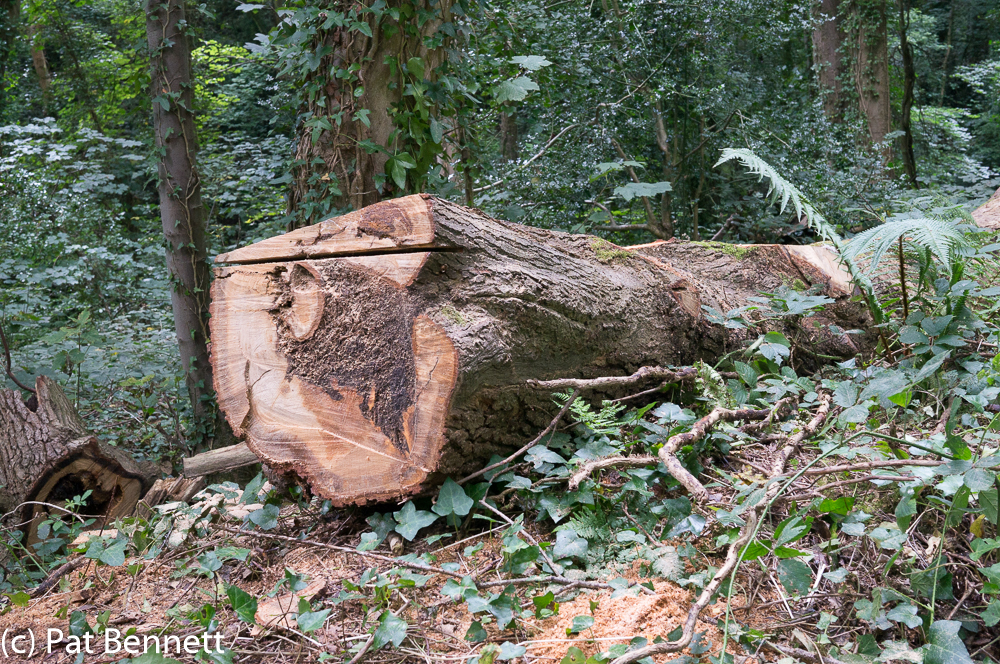
After trying unsuccessfully to pull the snapped oak trunk off the ten foot high stump, I called on Bill Devereux for help, and, with the right gear, the trunk was down on the floor in no time. I decided to cut the first planks from the upper half of the log, so I cut some nobbly bits off the top in order to mount the ladder for the first cut.

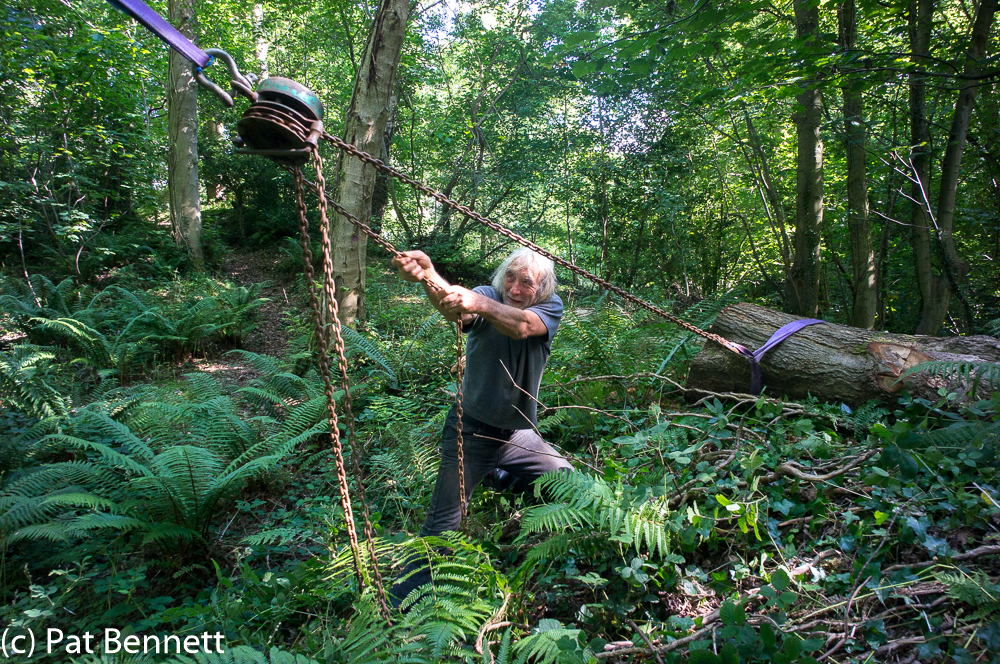
First Bill arranged a winch to pull the top of the log onto the bank, so that it was easier to cut with the chainsaw mill. This enabled him to demonstrate some impressive lumberjack poses, something which he does very well!

I hoped to cut the top off the log immediately, but was stopped in my tracks – the log was just too wide for the 24 inch bar on my chainsaw.

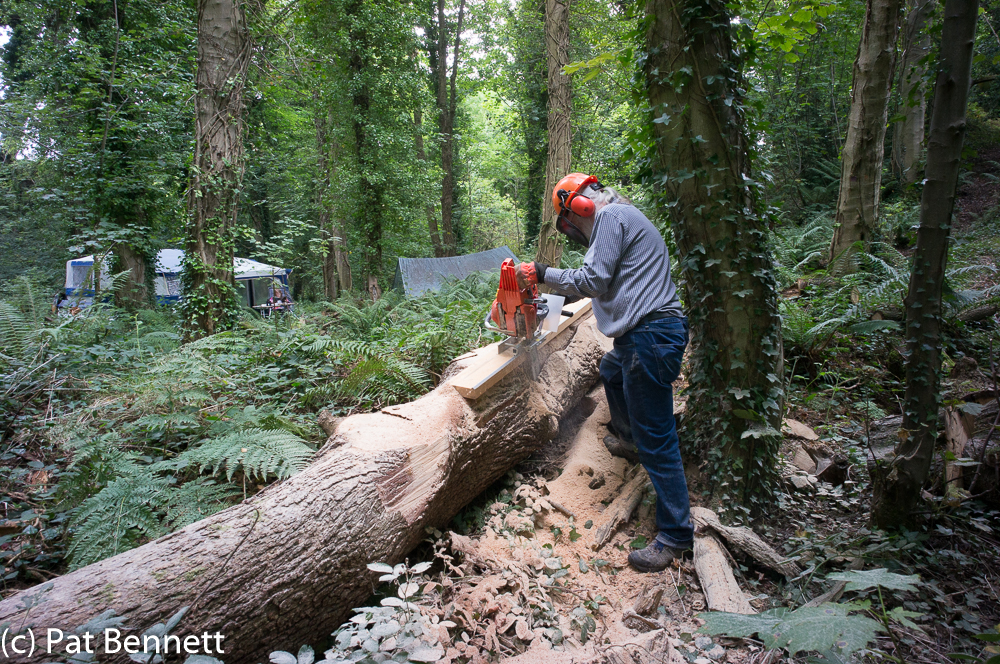
So it had to wait for our next weekend in the wood, when I brought my mini mill. This enables the chainsaw to run along a track attached to the top of the log, with the bar vertical. This takes a slice off the side of the log, which made it narrow enough for my main mill to cut horizontal planks successfully.

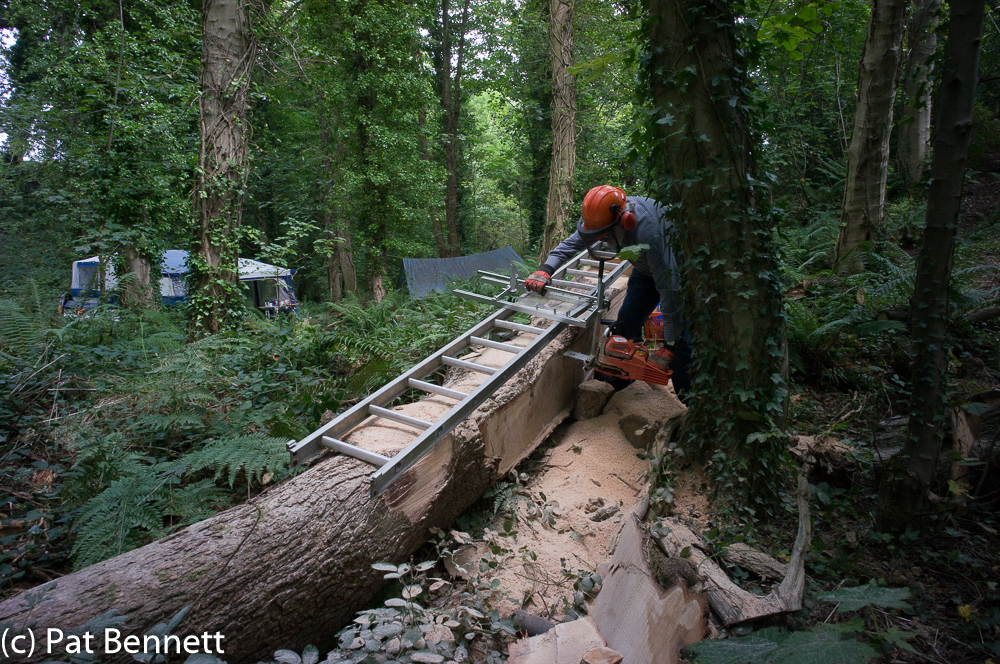
I then attached the ladder to the top of the log, which the chainsaw mill ran along, making a level horizontal cut which removed the top bark.

The mill can now run along the level surface and cut successive planks of any thickness – up to about ten inches.

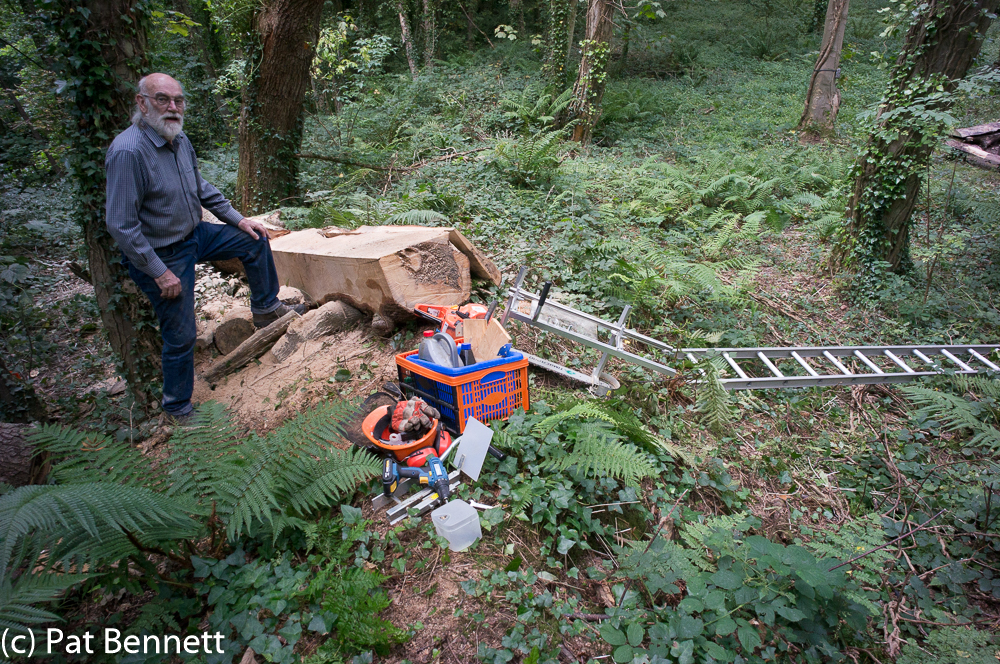
For the first plank, I set the thickness at three inches as I have some chair legs in mind. The oak was so wet that it was a struggle getting it into the Landrover to take home – the tree has been down for seven months, but that has made little difference to the water it contains.

So far I have been exploring sycamore wood – obtained by felling three trees – and using it to make things. It’s a beautiful wood, showing wonderful light reflections from its grain, with an occasional ripple effect which looks three dimensional.

Now I’m looking forward to learning about oak, a wood embedded in our history and consiousness.

Windfalls

I’m slowly using up my store of timber from the wood, but I’m getting a bit bored with sycamore and would like a bit of variety. I’ve had my eye on a tall straight ash tree as my next source of logs and planks from the wood, but I would be quite pleased to have the variety provided by the lucky dip of windfalls.

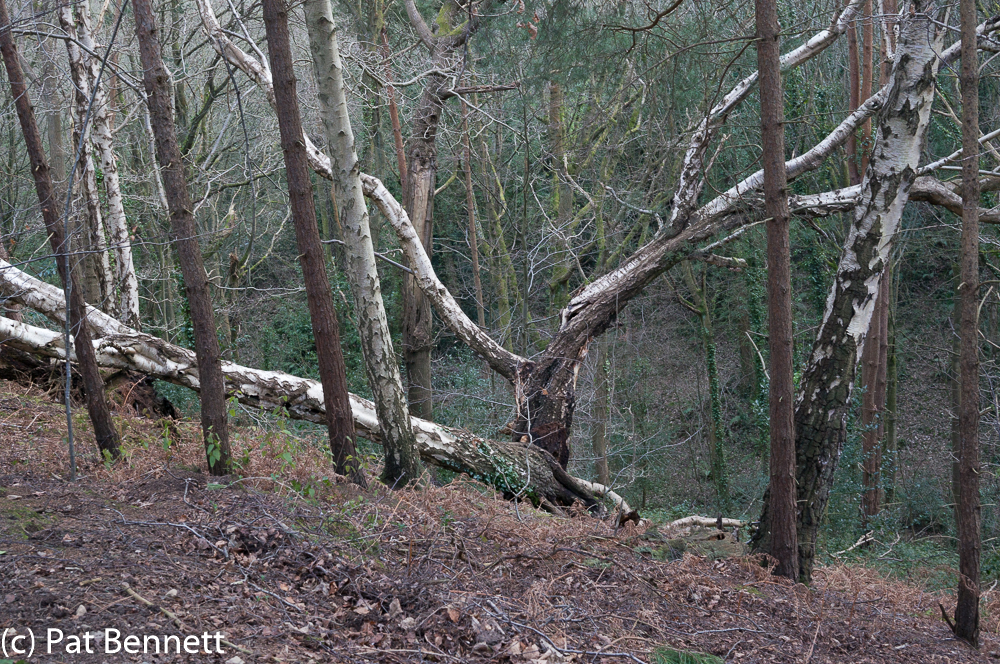
However, our trees seem to be very sturdy, and windfalls are mostly happening in the valley next door:

Silver birch windfall

The problem is the steep slope that stolen logs would have to be hauled up – a strong incentive for honesty.

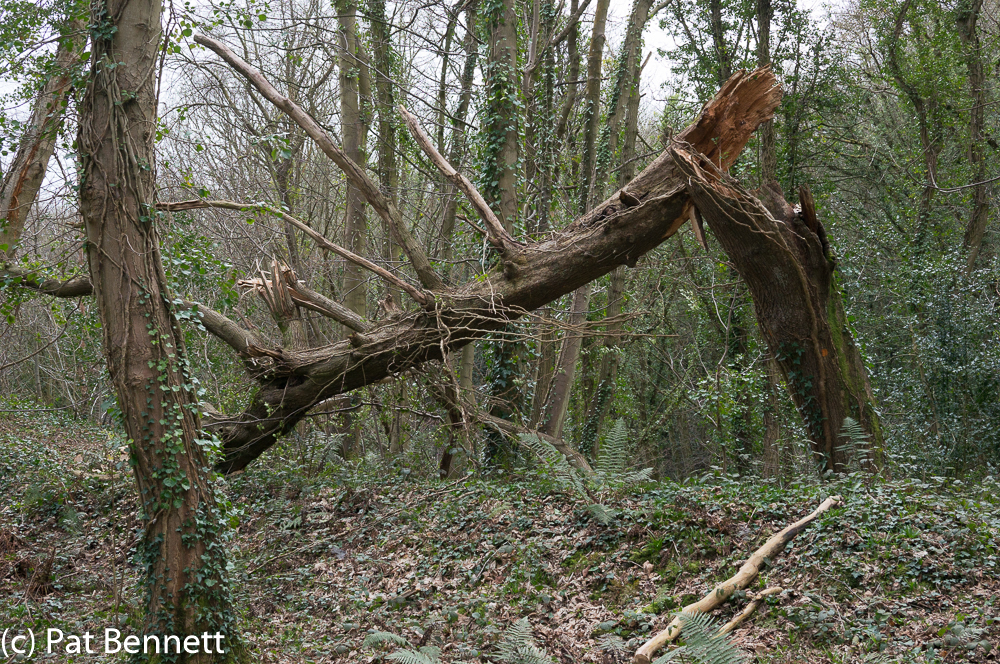
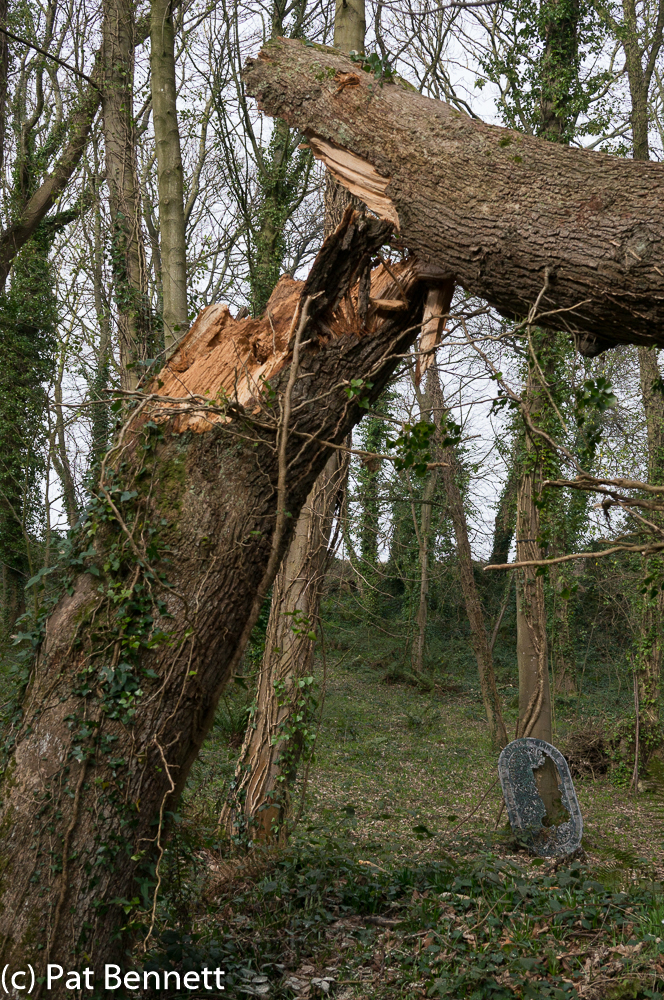
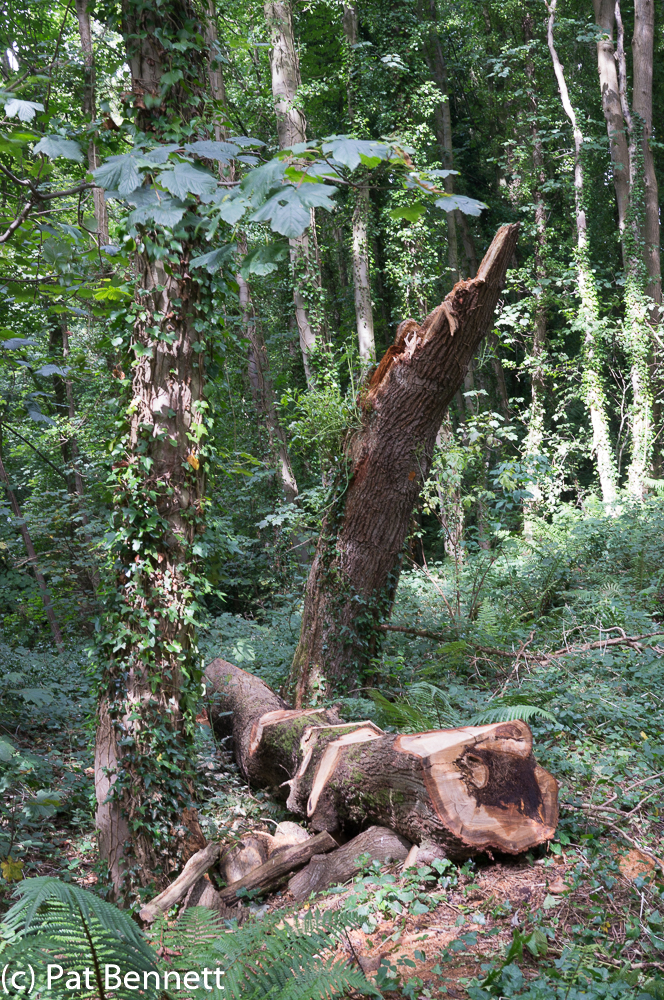
However, when we inspected the wood after Storm Doris, we found that an oak tree on the woodbank which forms the border with our neighbour’s section had succumbed, and this was very conveniently adjacent to our glade that we use for camping/brewing up/hanging out.

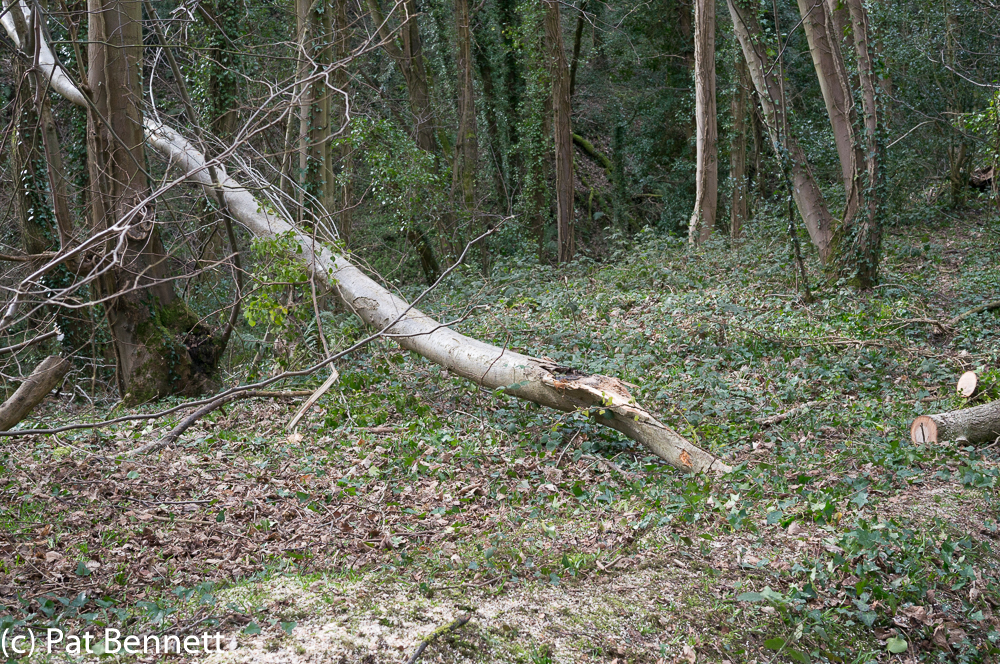
I was quite pleased with this, as I am wanting to do some work in green oak – particularly the sort of carving exemplified by Pete Follansbee. Even better, the oak had taken down a bough on an adjacent ash tree, so I’ll have a nice choice of material to work with from these windfalls.

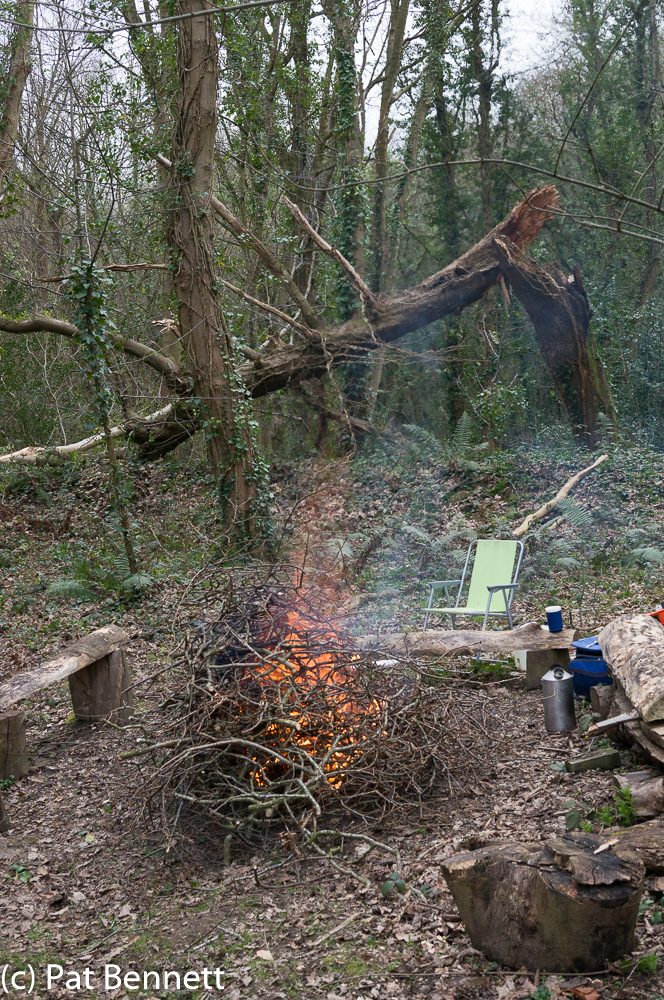
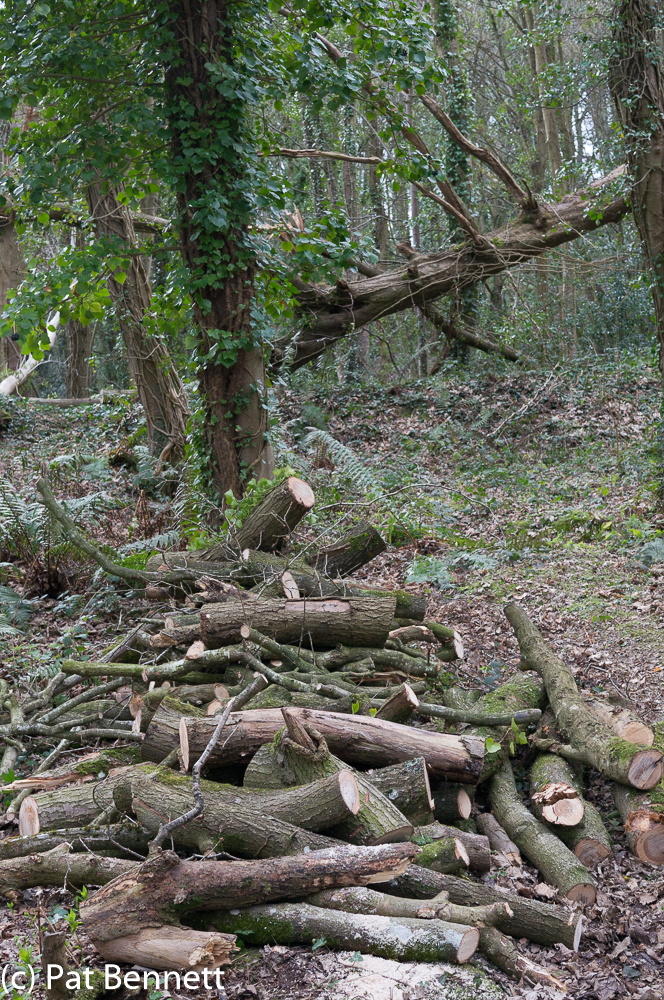
There’s quite a few days of play to keep me busy here, but yesterday, Paul helped me to make a start, removing the upper branches and burning the brash:

There’s a lot of excellent firewood here to keep us warm next winter, and as Paul said, the more wood we have taken off the tree, the more seems to be left!

The task on the next visit to the wood will be to winch the trunk of the tree off the stump, and then fell the stump. There’ll be some nice planks to be milled there, once it’s on the ground.

Paint it Black?

So Rhiannon wanted a shelves and drawers thing to go under the stairs for her birthday, and her colour scheme is black. I agreed to make it, but I was not going to paint it, as I am in love with the patterns of the grain in any wood that I work with. However, while browsing Richard Maguire’s website,  http://www.theenglishwoodworker.com, my eye was caught by the design of his sidetable which has an undercarriage that is blackened via a process called “ebonising”.

Googling the internet showed that this process, which is several hundred years old, depends on the reaction between iron and tannin, shown by the black stain found around nails in oak, a wood rich in tannin. As it simply stains the wood, I hoped that it would still leave the grain visible, satisfying both Rhiannon and myself.

Many woods do not contain enough tannin for a satisfactory result, so the traditional recipe involves painting on a tannin solution followed by painting on a solution containing iron. The tannin solution is prepared by boiling up teabags and allowing them to stew, while the iron solution is made by dissolving steel wool in vinegar for a period of a week or more.
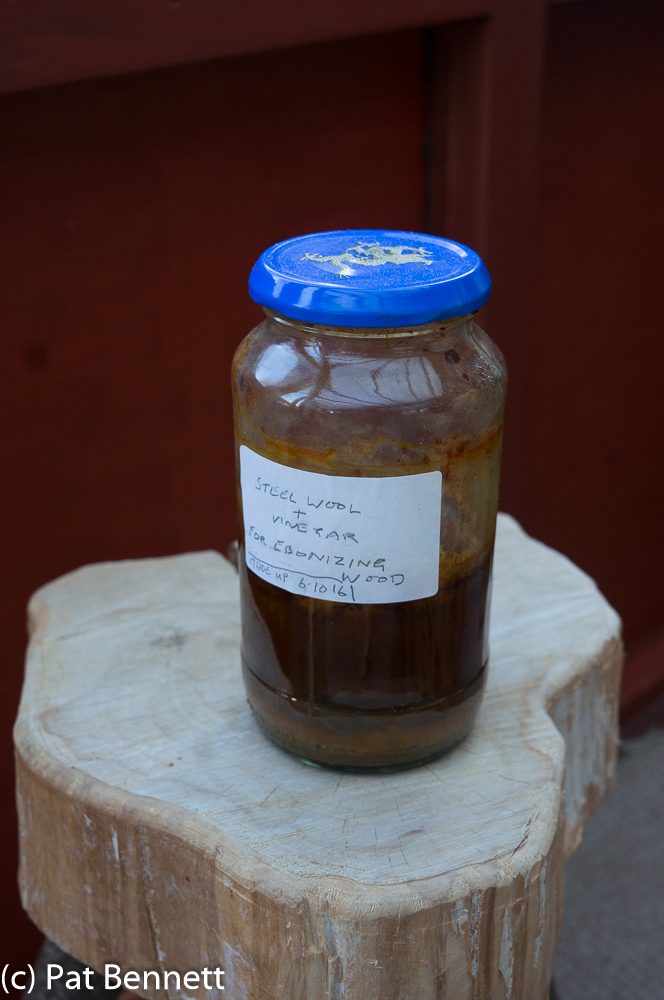
I experimented with this recipe, obtaining variable results, but then the inner chemist took over, and I ordered some tannic acid powder and ferrous sulphate crystals. Making up solutions from these with known concentrations, I embarked on a series of experiments which showed that it was very easy to ebonise wood after several coats of the two solutions.
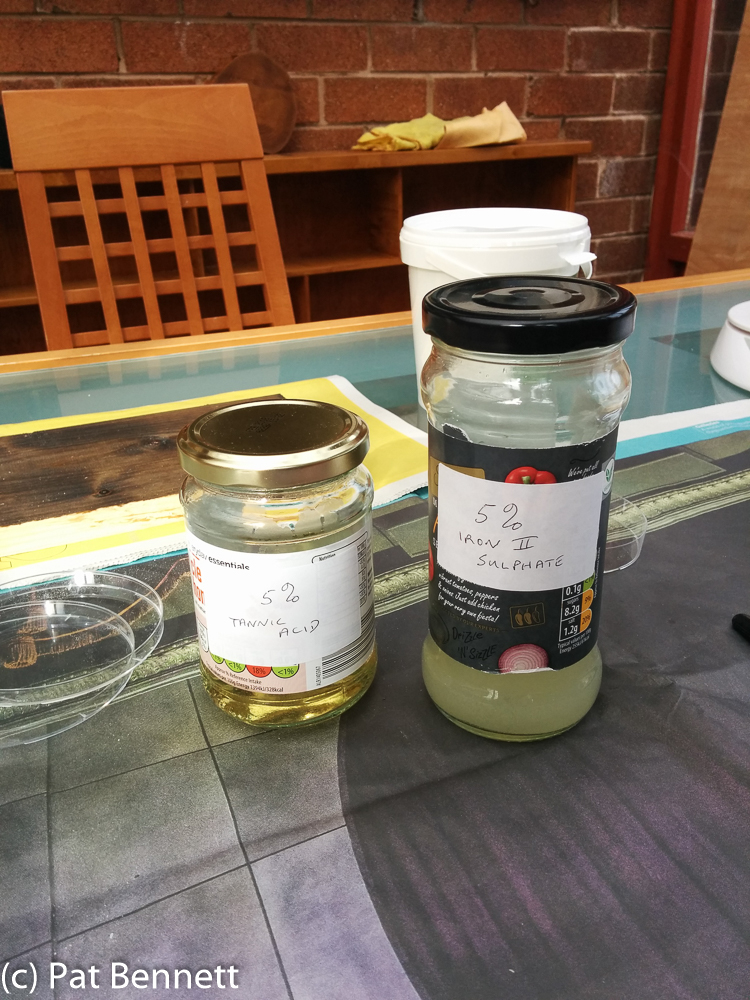
Usually, the final colour had a bluish-purple tinge to it, but Rhiannon approved, so the SDT (shelves and drawers thing) became my first piece to be ebonised.
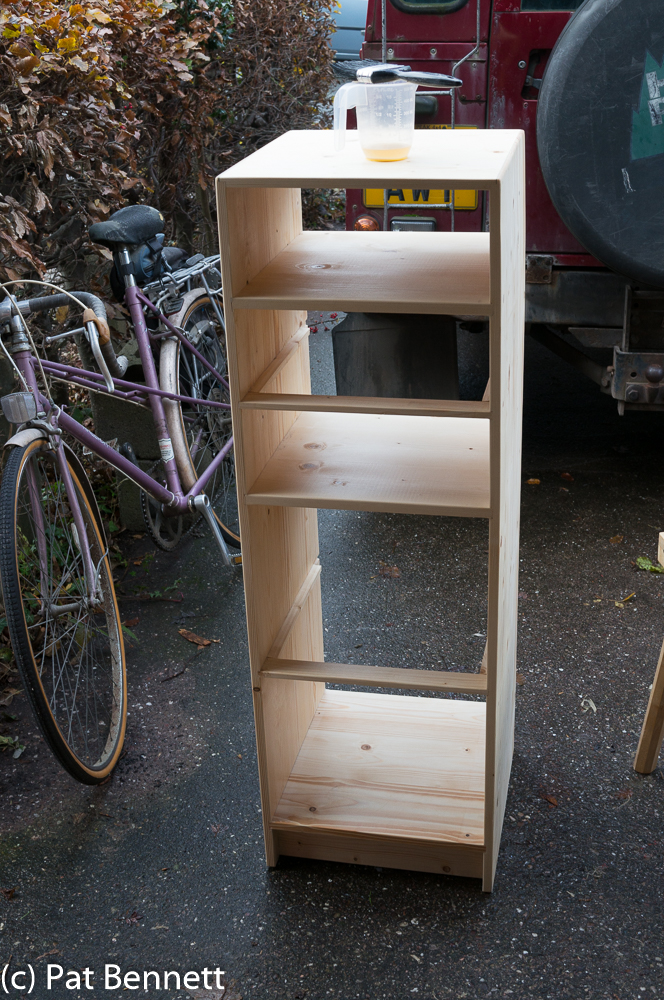
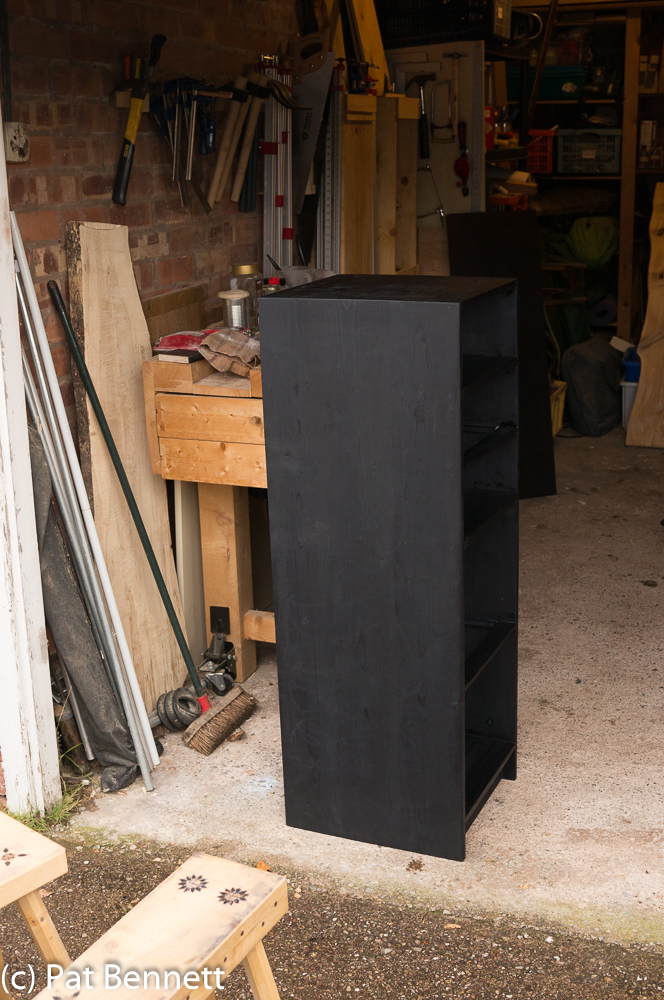
This, minus the drawers, was the SDT awaiting the finish, and I was happy with the joinery after planing and sanding everything smooth. I brushed on the tannin acid solution and left it to soak in for an hour, then started brushing on the ferrous sulphate solution.
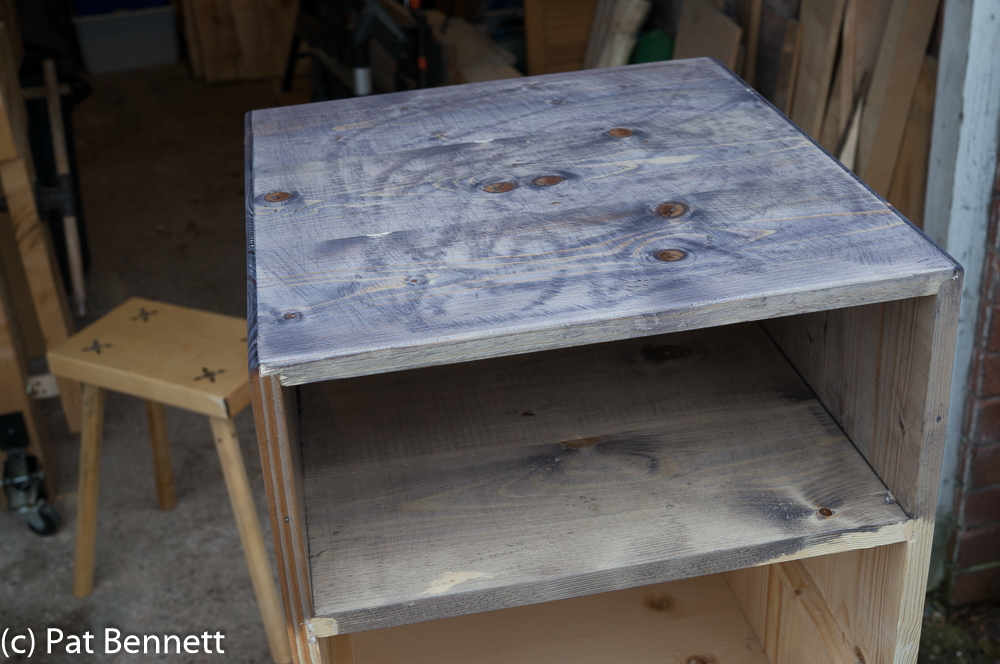
The tannic acid wash gave very little colour change, but this is a few seconds after starting to brush on the iron sulphate solution. At this point, I was wishing that I hadn’t tried this ebonising thing, and was wondering how easy it would be to sand it off. However, a few hours later it had darkened considerably, as shown here, and a second application produced the usual dark black with a bluish tinge. I left it overnight to dry, and the next day I applied the final finish of danish oil. This immediately changed the colour to a more intense black, and the blue tinge was hardly detectable.Satisfied with this, I ebonised the back of the SDT and the outside of the two drawers with two applications of the tannin and ferrous sulphate solution, and finished them with danish oil as well.
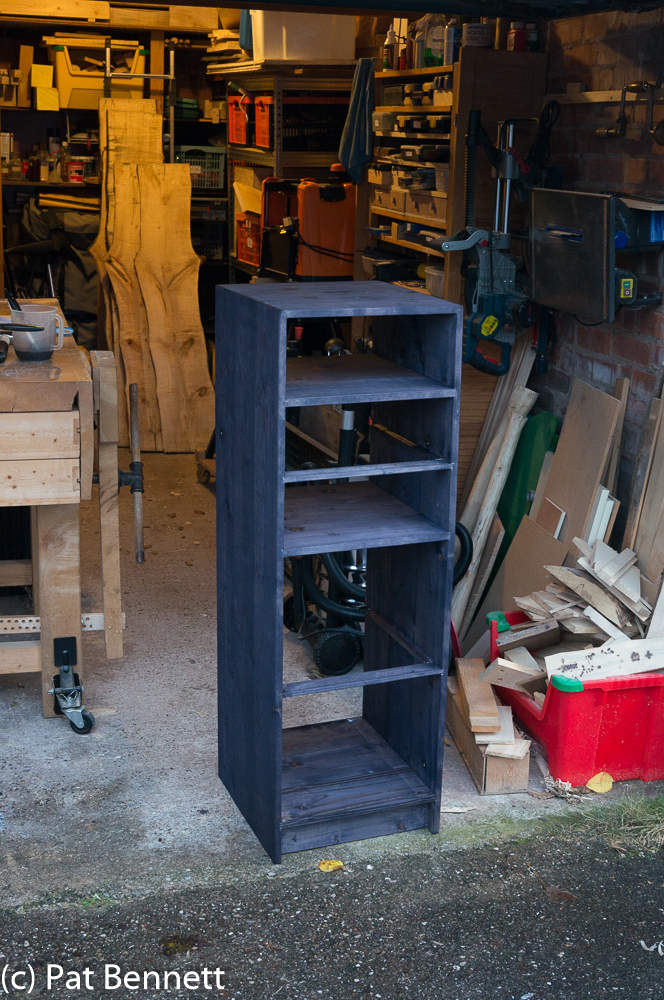
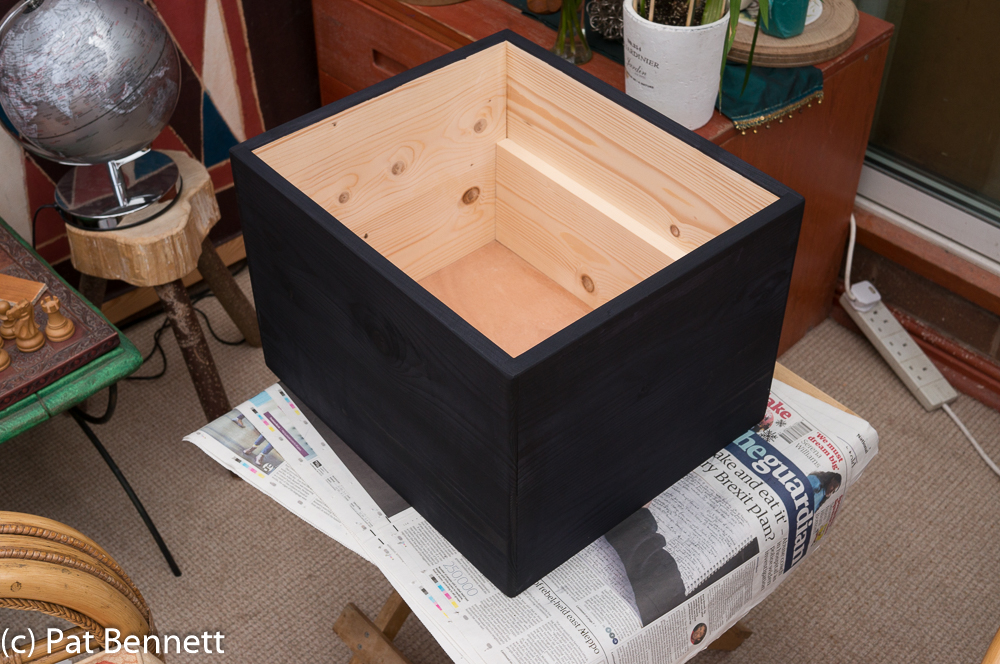
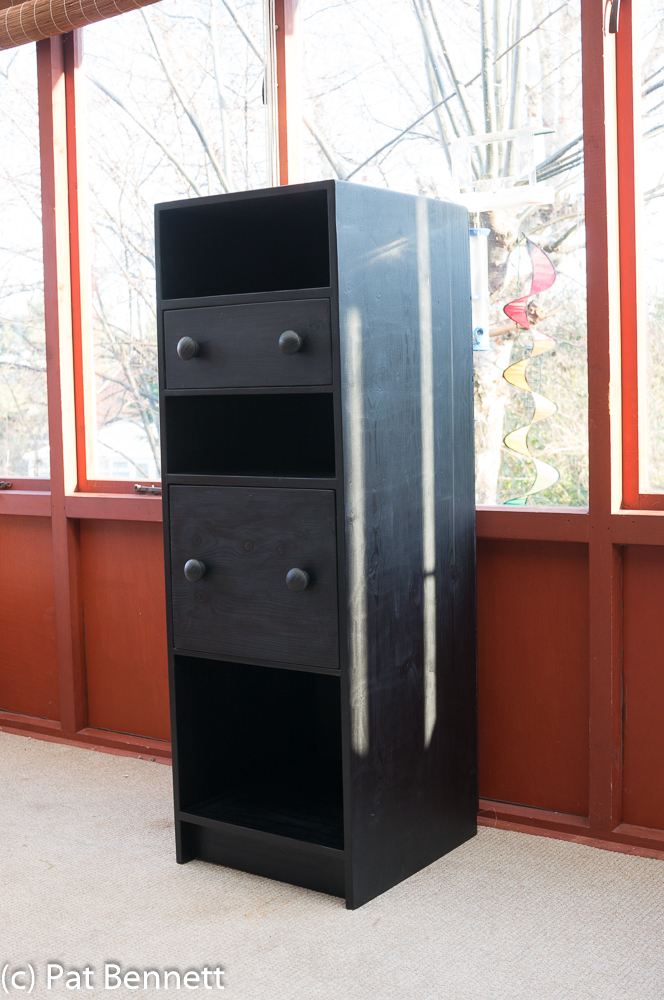
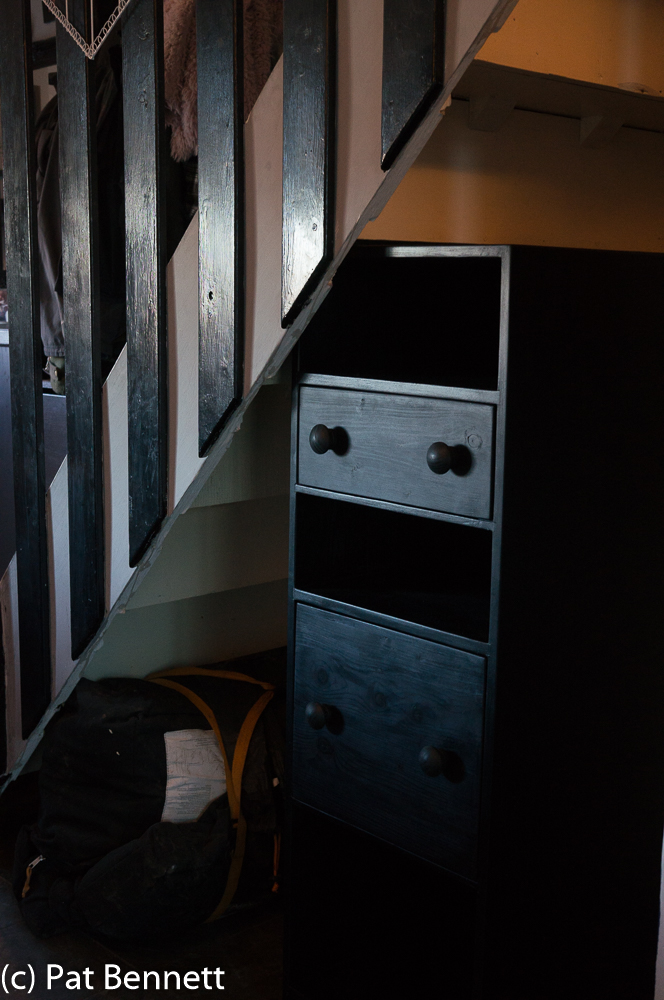
Here is the completed SDT, together with sunlight, in our conservatory.
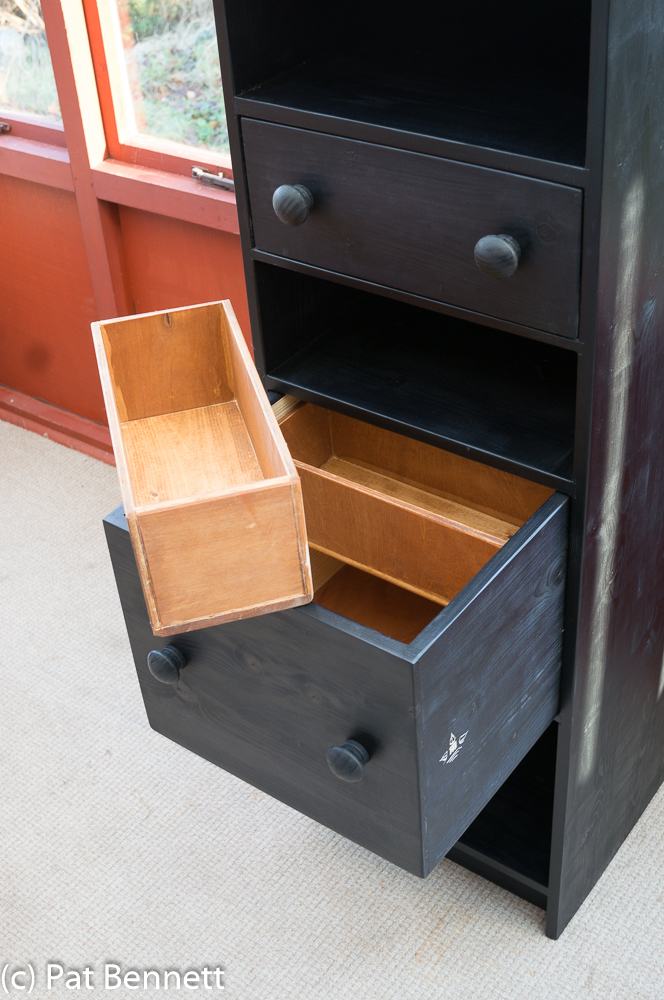
I delivered the piece to the client, who seemed pleased, and here it is in situ.
There are a number of blogs by woodworkers around the net, describing how they have investigated the best way of using this technique, and the suitability of different types of wood. Conclusions have been drawn, some of which I do not believe are correct, as they vary. I think the chemical reactions by which the black substance is formed is very complex, and I am going to throw another factor into the mix which I do not think has been remarked upon previously.

I believe that as the two solutions get older, the time taken for the wood to darken gets less. I think that this is true, due to my observations over the several days that I ebonised the SDT, then the back, then the two drawers. If this is indeed true, I have a possible explanation, from my background in chemistry.

Here goes – iron compounds can exist in two forms, ferrous and ferric (different valencies – look it up if you must). Ferrous compounds are less stable, and tend to react with oxygen in the air and become the equivalent ferric compound.

Perhaps it is ferric compounds which do the ebonising reaction with tannin, and ferrous compounds are incapable of doing so. This would explain the comparative slowness of reaction with freshly made up ferrous sulphate solution – it would have to react with oxygen in the air before it could react with the tannin. After a few days, most of the ferrous sulphate would have been oxidised to ferric sulphate, hence the speed of the colour change when doing the drawers.

There are too many other interesting things to do for me to take this any further just now – next time I want to ebonise a project, I’ll check out whether my observations are repeatable, but the important thing to me is that it works!
On a beach in the wood

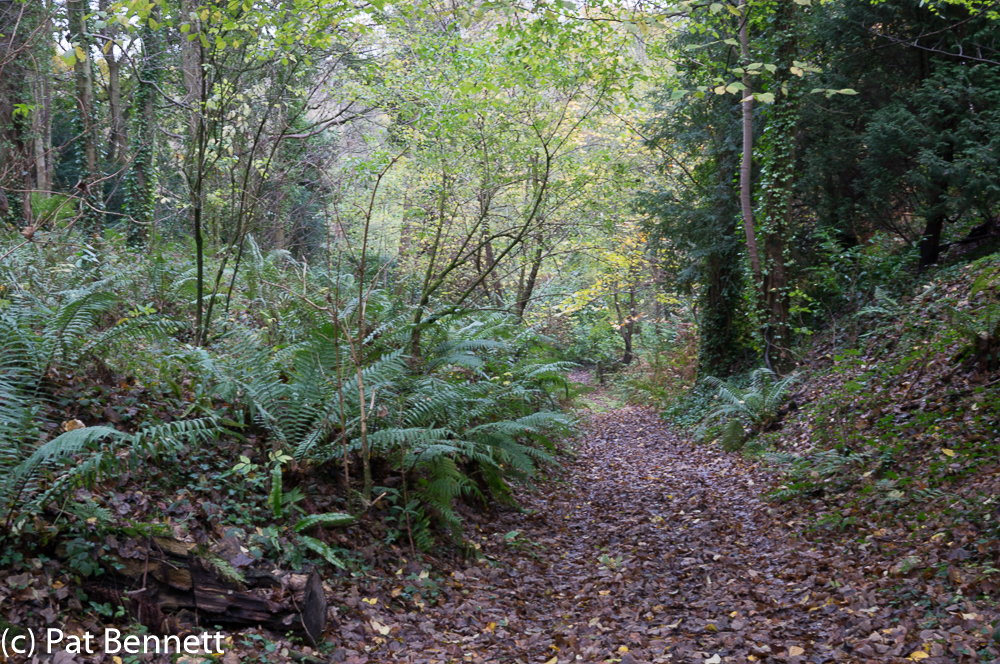
Access path

We went to the wood on Sunday, which was looking very beautiful in its autumn colours, with the extra depth which appears as the leaves fall and the woodland floor is illuminated by the soft light of early winter.

l9041

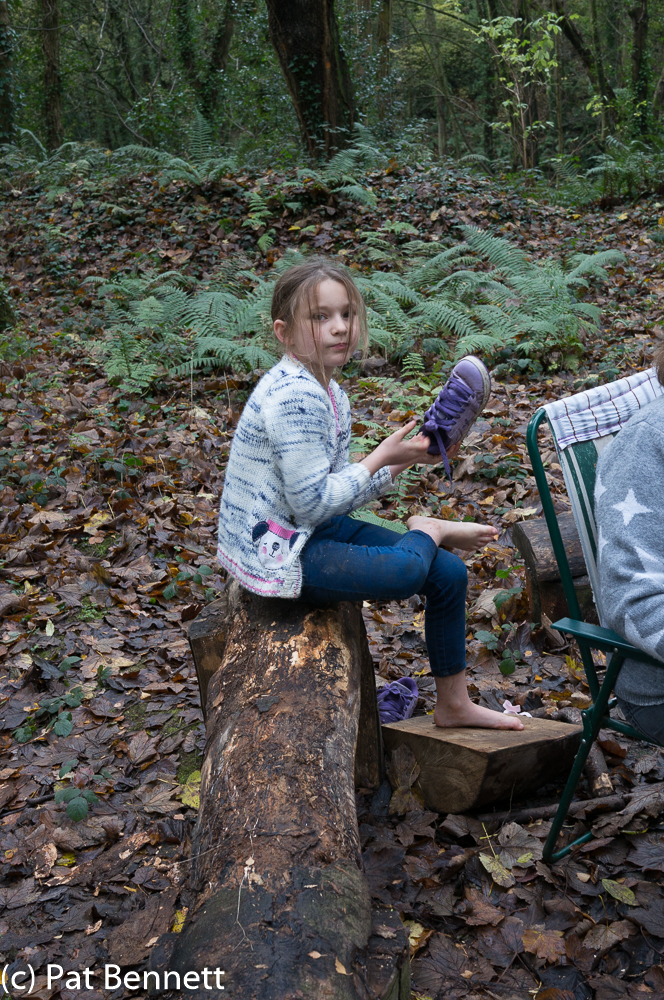
Cara has left her wellies in school, she tells me, and came in roller shoes which were already wet. Good job it was a mild day. l9047

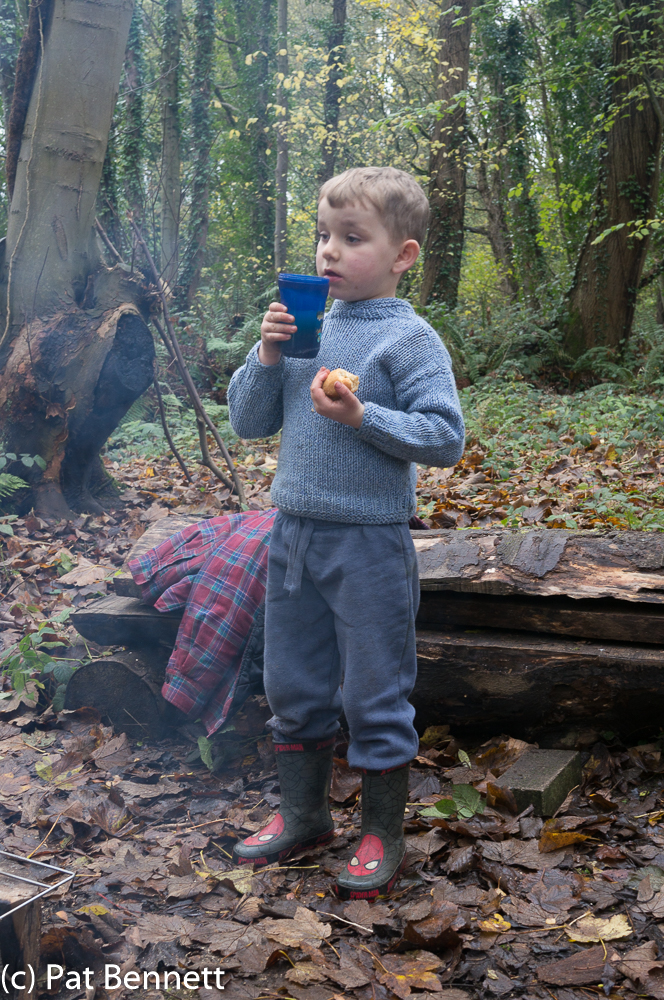
Cade was well equipped for the damp conditions, and was first to demand that food should be provided promptly.

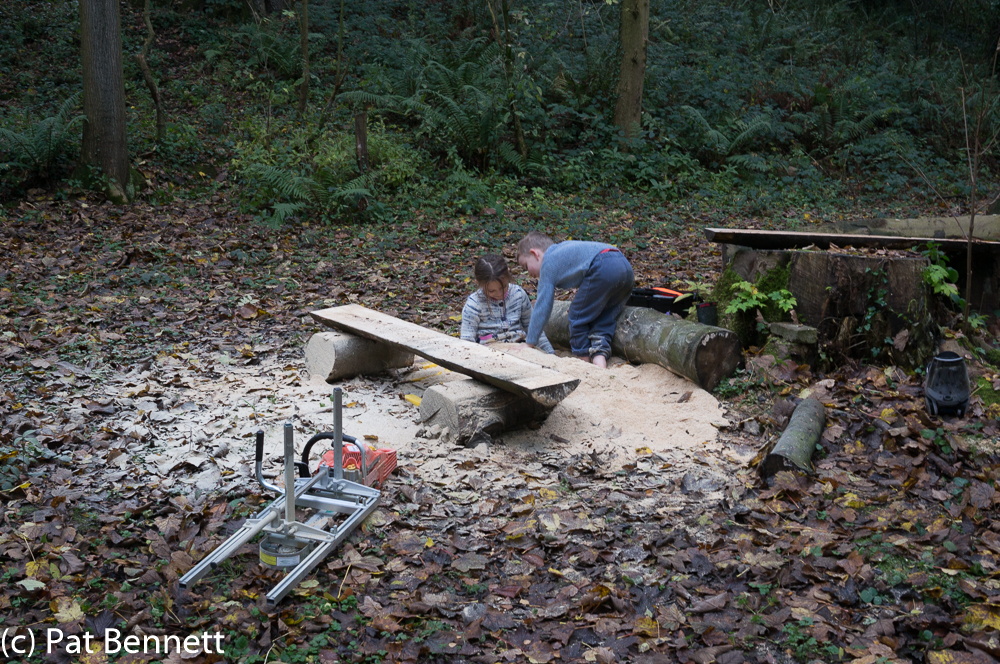
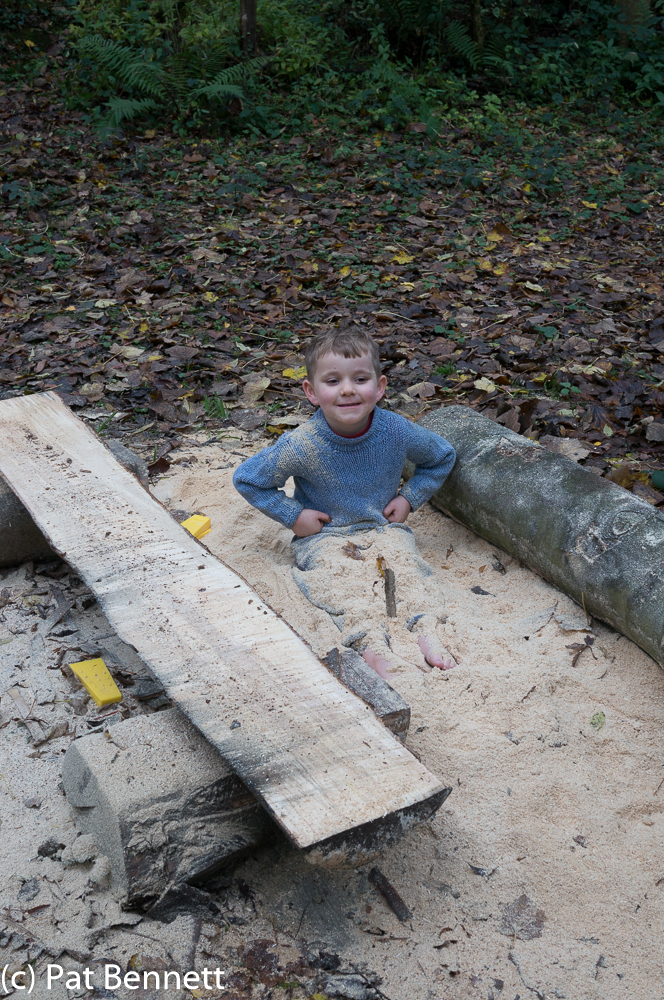
My target was to mill some logs from a tree I felled in early spring, and this provided a nice pile of sawdust which the kids have previously identified as a suitable replacement for sand.l9049

They were soon happily engaged with the usual activities associated with being at the seaside, with the advantage that their “sand” was comfortably dry and not at all cold.l9053  Just before we left, as I had a last wander around the glade, my eye was caught by the leaves of this sapling, glowing in the failing light.l9059
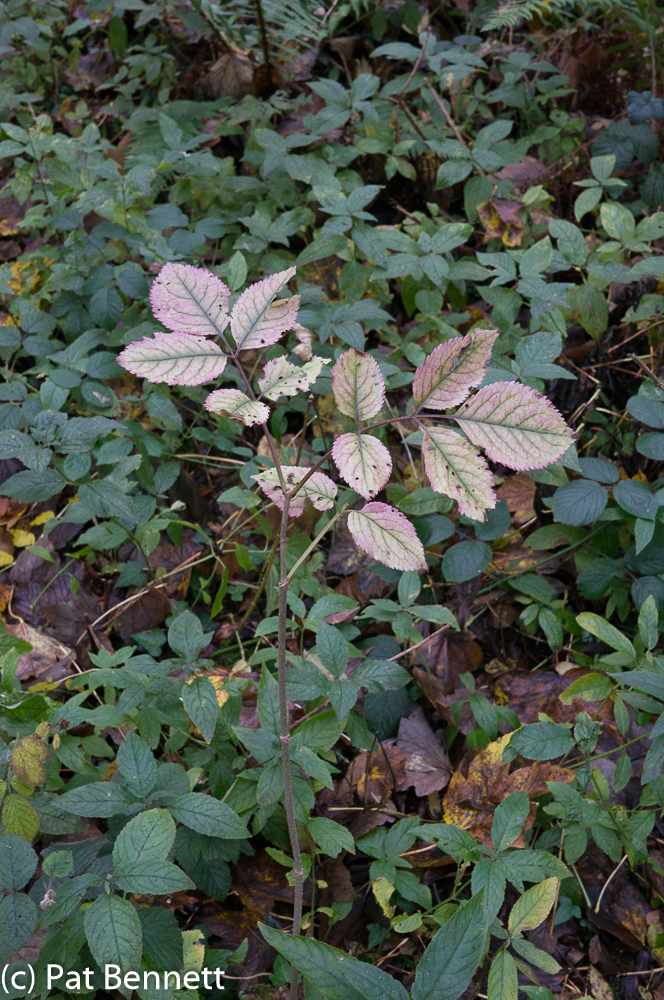
Good to see new life is ready to succeed the present mature trees, and good that it is “wildlife” – a term that surprised me when I first came across it being applied to trees. But of course when trees set seed, and a sapling has found its own niche rather than having been planted by human hand, it certainly is wildlife, and all the more interesting for being so.

Decoration

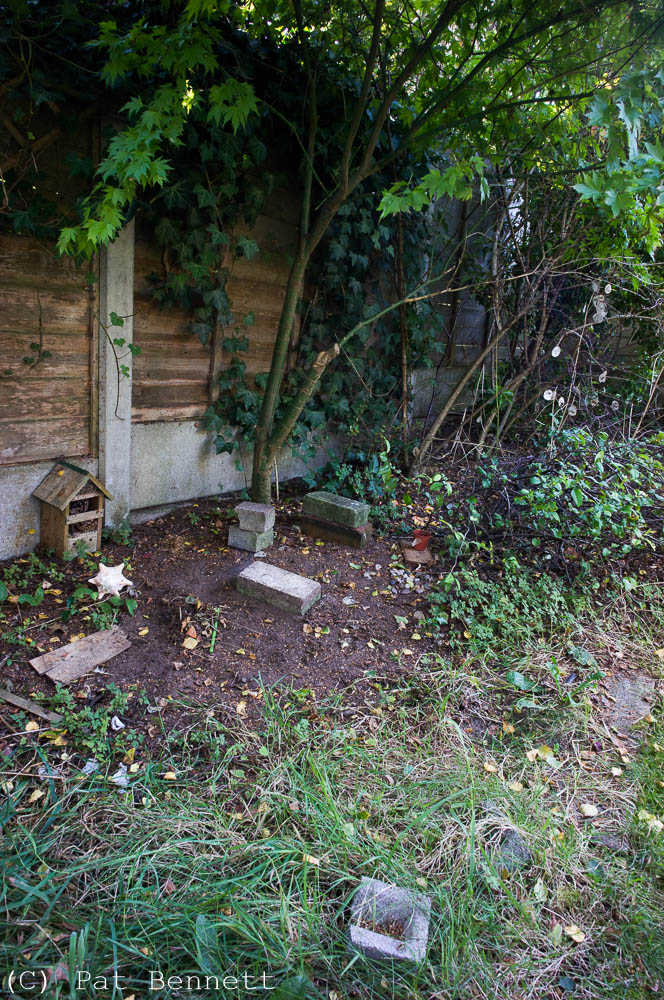
The great grand children have appropriated an area of the border at the bottom of our garden, under the acer tree, as their Den.

Cara's Den

The den is a threat to all of the flowers in our garden, as Cara and Cade seem to think that they look much better in their den than boringly attached to their parent plant.

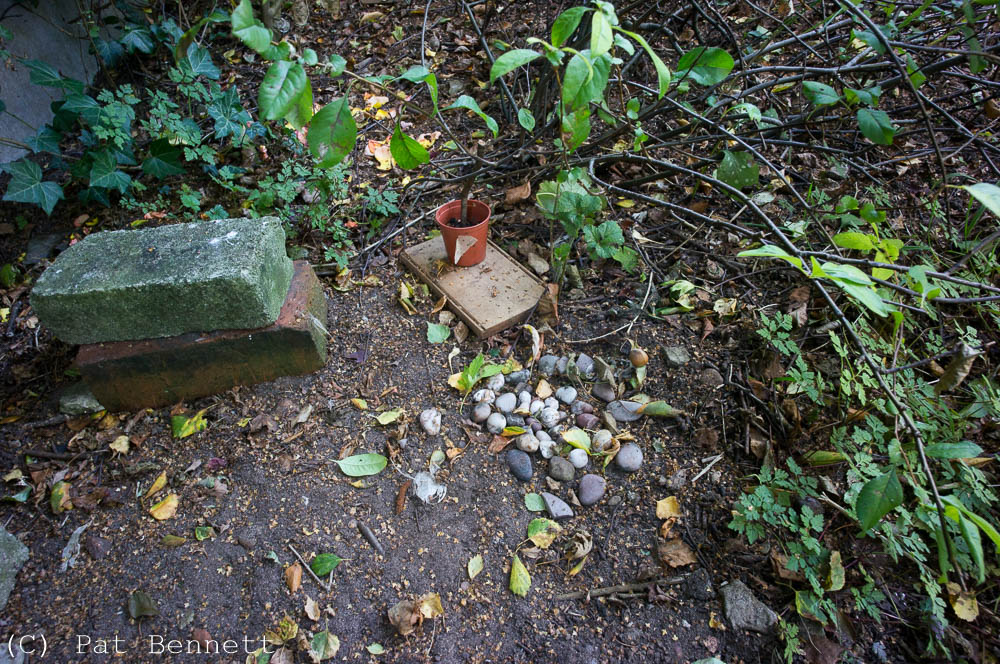
However, the other day, I noticed that Cara had hit on a less anti-social mode of decoration – she had liberated some nice looking pebbles from next door’s drive, and pressed them into the earth to enliven their abode.

l8993

As I looked at the pebbles, and thought about dens, seven-year-olds, and concepts of beauty and style, my mind took a sideways step and latched on to a memory of another dwelling, ornamented by another human being.

It was a hot day in a remote part of Ghana in 2009. The area belonged to the Gonja people, and even though it was remote and very poor, it was notable for the number of people – migrants – who had come from other countries in west Africa to make a living there.

I was in a four wheel drive vehicle, bumping along a primitive track. On either side of the track, the earth showed through the thin grass a dusty red, with termite mounds scattered between the trees.

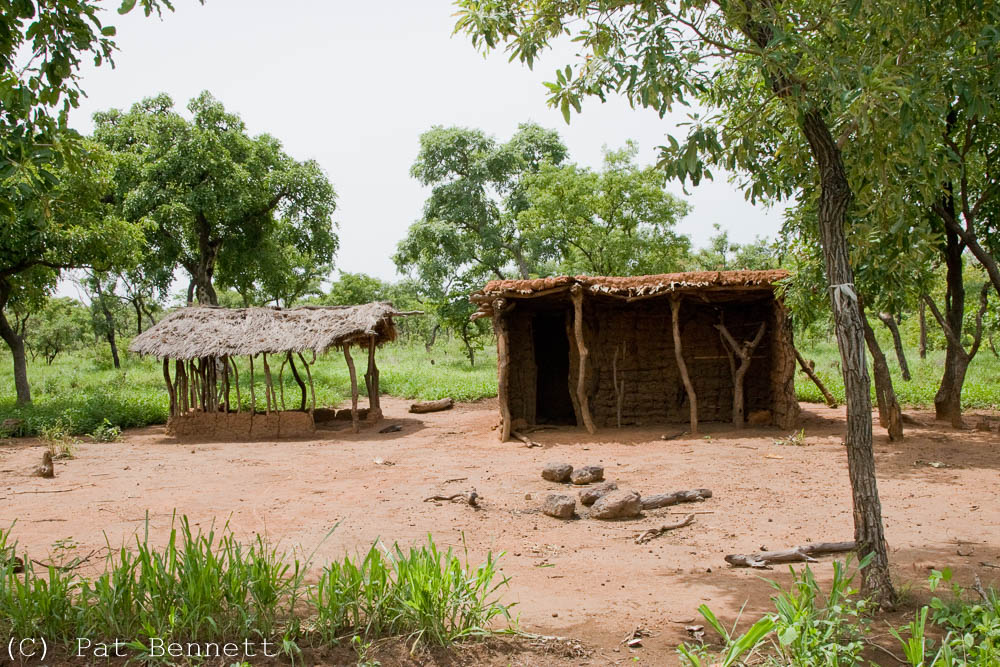
As we rounded a bend in the track, some distance from the nearest village, I saw a hut a short way into the bush, and we stopped so that I could take a look.

Deserted hut, Ghana.

There was no-one in sight, and when I looked around the hut and the animal shelter beside it, I could find no belongings or anything of value. Perhaps the hut was abandoned, or maybe its owners were itinerant farmers who only used it for part of the year.

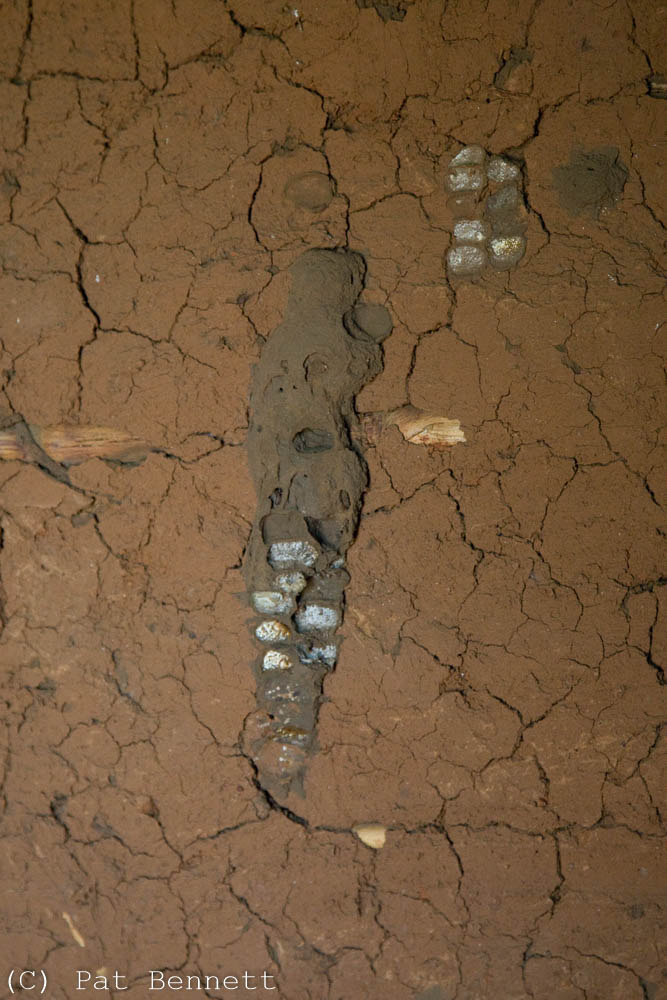
Sweating profusely in the blinding sun, I entered the hut. When my eyes adjusted to the deep shade, I took in the lack of belongings of any sort, and then my eye was caught by a gleam in the wall.

Decoration in hut wall, Ghana.

Embedded in the mud wall were these shiny stones, and as I stood there looking at them, I wondered about the life of the people who had lived in the hut. I wondered about how difficult was their struggle for survival, and how the urge towards beauty is in us all. I wondered who it was that had the impulse to decorate the hut. Too high up the wall to be a seven year old.

Was the connection made by my mind real? The connection between the decorations in my garden den and the African hut?  Or were there complexities of culture embodied in those stones in the mud wall that went beyond the simple urge to decorate and domesticate a dwelling?

Anyway, that’s the story behind two photographs taken today and two photographs taken seven years ago.